Webex Scheduler
The Webex Scheduler lets users schedule, attend, and track Webex meetings in Microsoft Outlook or thorugh Outlook on the Web. The following instructions show how to install the Webex Scheduler from the Microsoft App Store. Webex Scheduler is available for both Windows and Mac computers.
Installing Webex Scheduler for Outlook
1) If applicable, the Webex Productrivity Tools need to be uninstalled from your computer. If you haven't used the Webex Productivity Tools, proceed to step 2.
2) Open Outlook and click the Get Add-ins button on the Home tab.

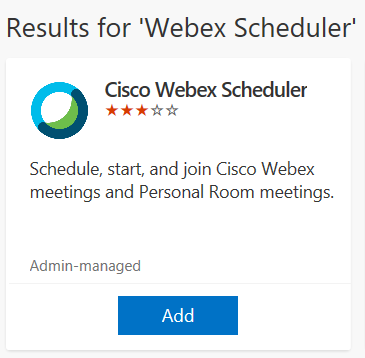
3) Search for Webex Scheduler and click the Add button to install the add-in.
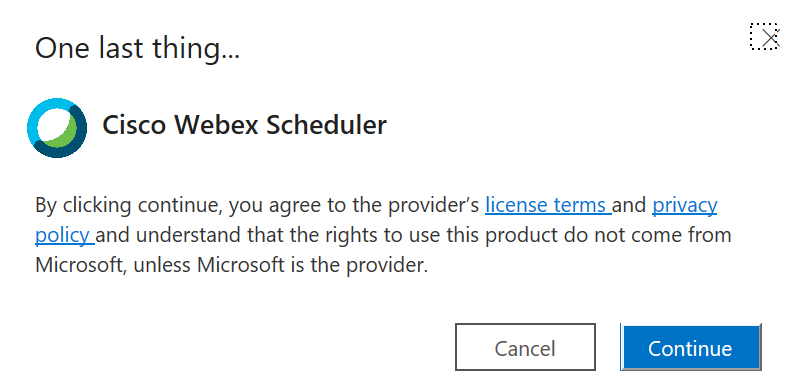
4) When prompted, click the Continue button.
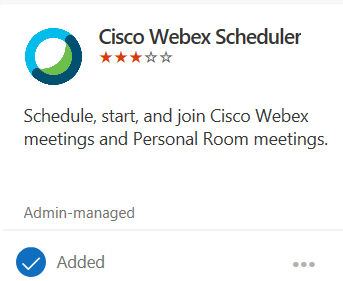
5) When the add-in finishes installing, the status will change to Added. The installation is now complete.
Installing Webex Scheduler for Outlook on the Web
Note: If you've installed Webex Scheduler via Outlook, you do not need to install it in Outlook on the Web also.
1) If applicable, the Webex Productrivity Tools need to be uninstalled from your computer. If you haven't used the Webex Productivity Tools, proceed to step 2.
2) After uninstalling Webex Productivity Tools, open up any web browser and navigate to Outlook Login and sign in with your MSUB email address and password.
3) After signing in, click on the Calendar icon.

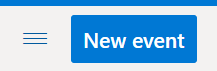
4) Click the New Event button on the top left corner of the screen.
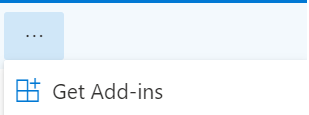
5) On the top row of icons, click the ... but and click Get Add-ins.
6) Search for Webex Scheduler and click the Add button to install the add-in.
7) When prompted, click the Continue button.
8) When the add-in finishes installing, the status will change to Added. The installation is now complete.
Using Webex Scheduler
After installing the add-in, the Webex Scheduler allows you to quickly add Webex meeitngs to your calendar invites. To do so:
1) Open a new calendar appointment in Outlook.
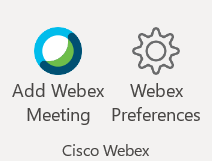
2) Click the Add Webex Meeting button on the ribbon.
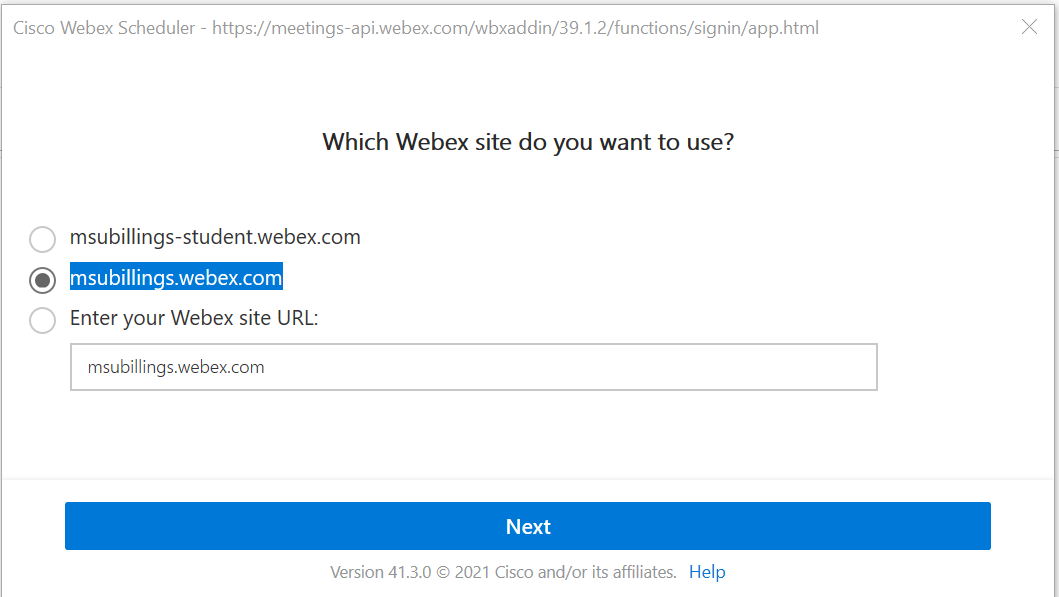
3) After clicking the Add Webex Meeting button, the Cisco Webex Scheduler window opens. Click Get Started.

4) Select msubillings.webex.com and click Next.
5) Log in with your MSUB email address and password.
6) Click the Add Webex Meeting button.

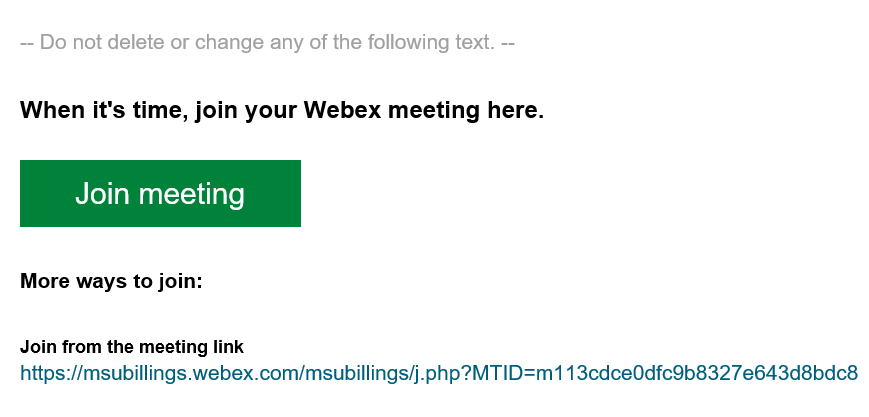
7) The Webex Meeting information is automatically added to the calendar appointment.