Sending An Envelope
To send an electronic envelope through DocuSign:
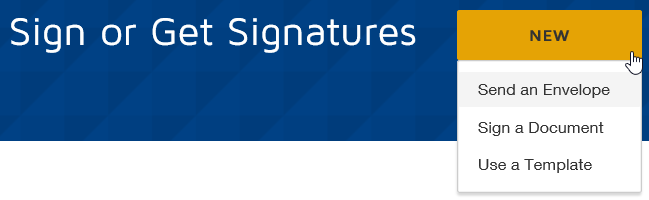
1) On the Docusign home page, click the New button next to Sign or Get Signature.
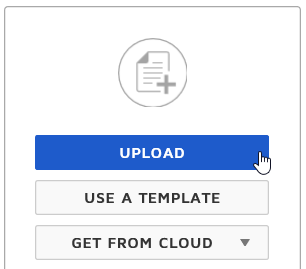
2) Click the Upload button to upload the document you want to be signed.
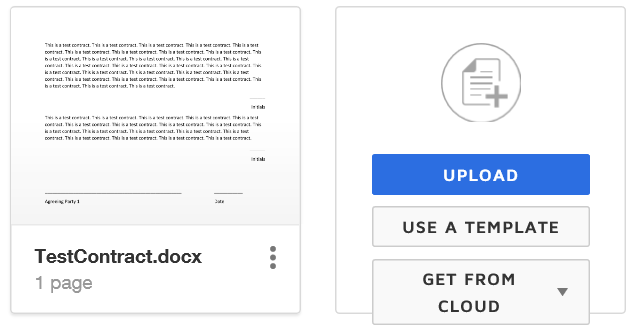
3) The choose a file window will open. Browse to your document and click Open. The file will then appear on the screen. Note: You can upload multiple documents. The size of each document is limited to 25 MB.
4) Under the Add Recipients to the Envelope section add the names and email addresses of the person(s) you'd like to receive the envelope.
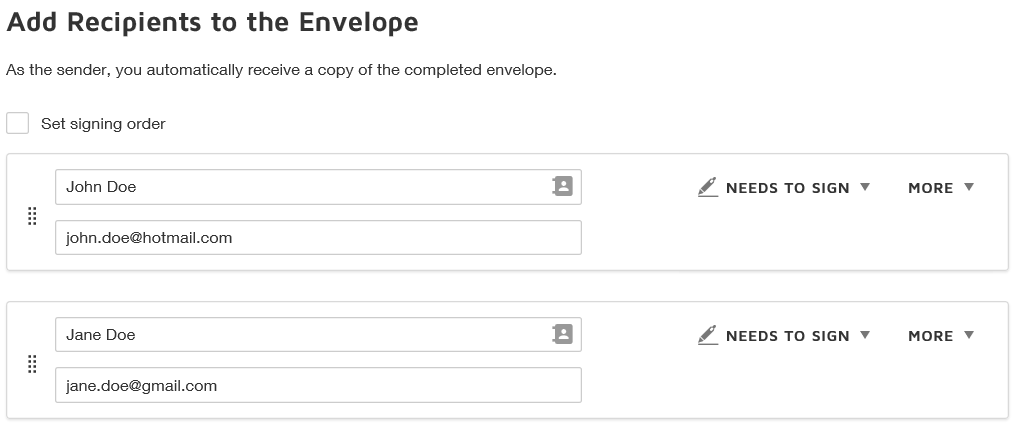
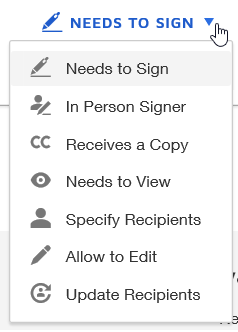
5) Recipients can be rearranged as desired by click and dragging the entry by click the eight dots next to the name information. Each recipient can also perform different actions. To view the actions a recipient can take, click the arrow next to the Needs to Sign button.
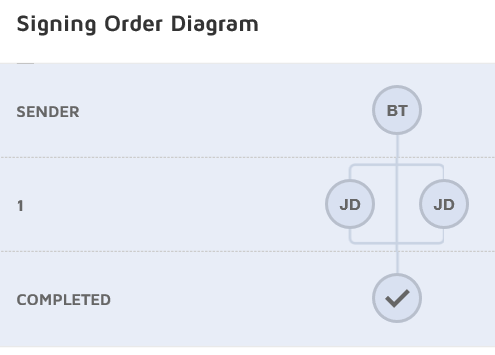
6) Checking the "Set signing order" check box above the recipients area forces recipients to sign the document in the order you specify. When the box is unchecked, recipients can sign them in any order. To view the signing order click the Signing Order button on the right corner of the Add Recipients to the Envelope section.
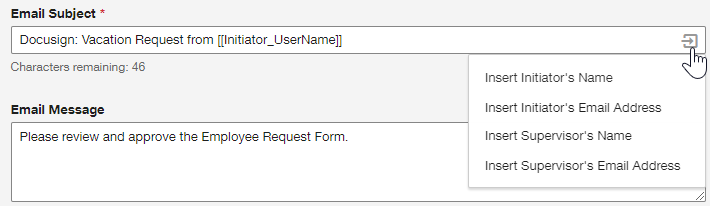
7) In the Message to All Recipients section, enter the subject and body of the email that the recipients will receive. If desired, you can check "Custom email and language for each recipient" to send a custom email to each recipient of the envelope.
Additionally, if you liked to add a variable from one of the signers into the Subject line, click the arrow on the right side of the Subject text box to see what's available.
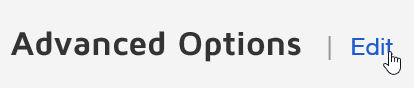
8) If desired, advanced options can be set which include changing signer responsibilities, reminders, and envelope expiration. To access the advanced options click the Edit link next to Advanced Options in the Message to All Recipients section.
9) After all options have been set, click the yellow Next button on the top right corner of the screen.

10) After clicking Next, the tagging screen will appear displaying your document. Tags are used to allow the recipient to enter information such as a signature, initials, date, or check box to name a few. The name in the drop down menu on the top left corner of the screen represents who will be allowed to use the added tag. Changing the recipients name allows for the next recipient to use their own set of tags.
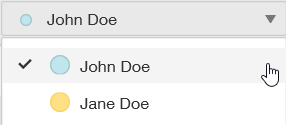
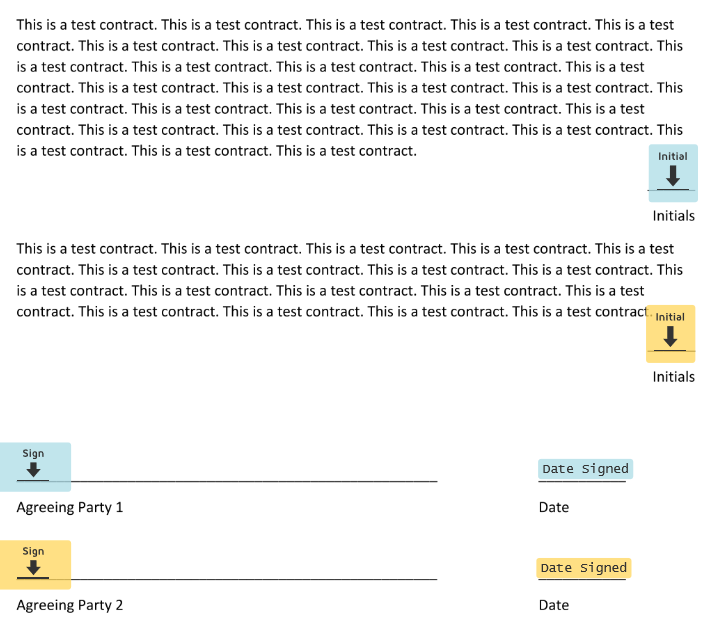
With the desired recipient selected, click and drag the tags onto the appropriate areas of your document. The tags are color coded to match their corresponding recipient.
After all the tags have been set, click the Send button on the top right corner of the screen to send the envelope to the recipients.